I want to use these “oneshot” posts to talk about the efforts that are often required to get that one shot. The shot you may have planned an entire trip around. In some cases things fall together quite simply and it seems meant to be. At other times, getting the shot can be a struggle, even with the most arduous planning.
This story falls somewhere in between. When I learned I’d be going to Tenerife in the Canary Islands, I did what I always do and started researching. I read articles, guidebooks, and I did image searches on Google and various stock photo agency sites to get an idea of the photo potential. It’s always good to know what is already out there, and where the gaps seem to be.
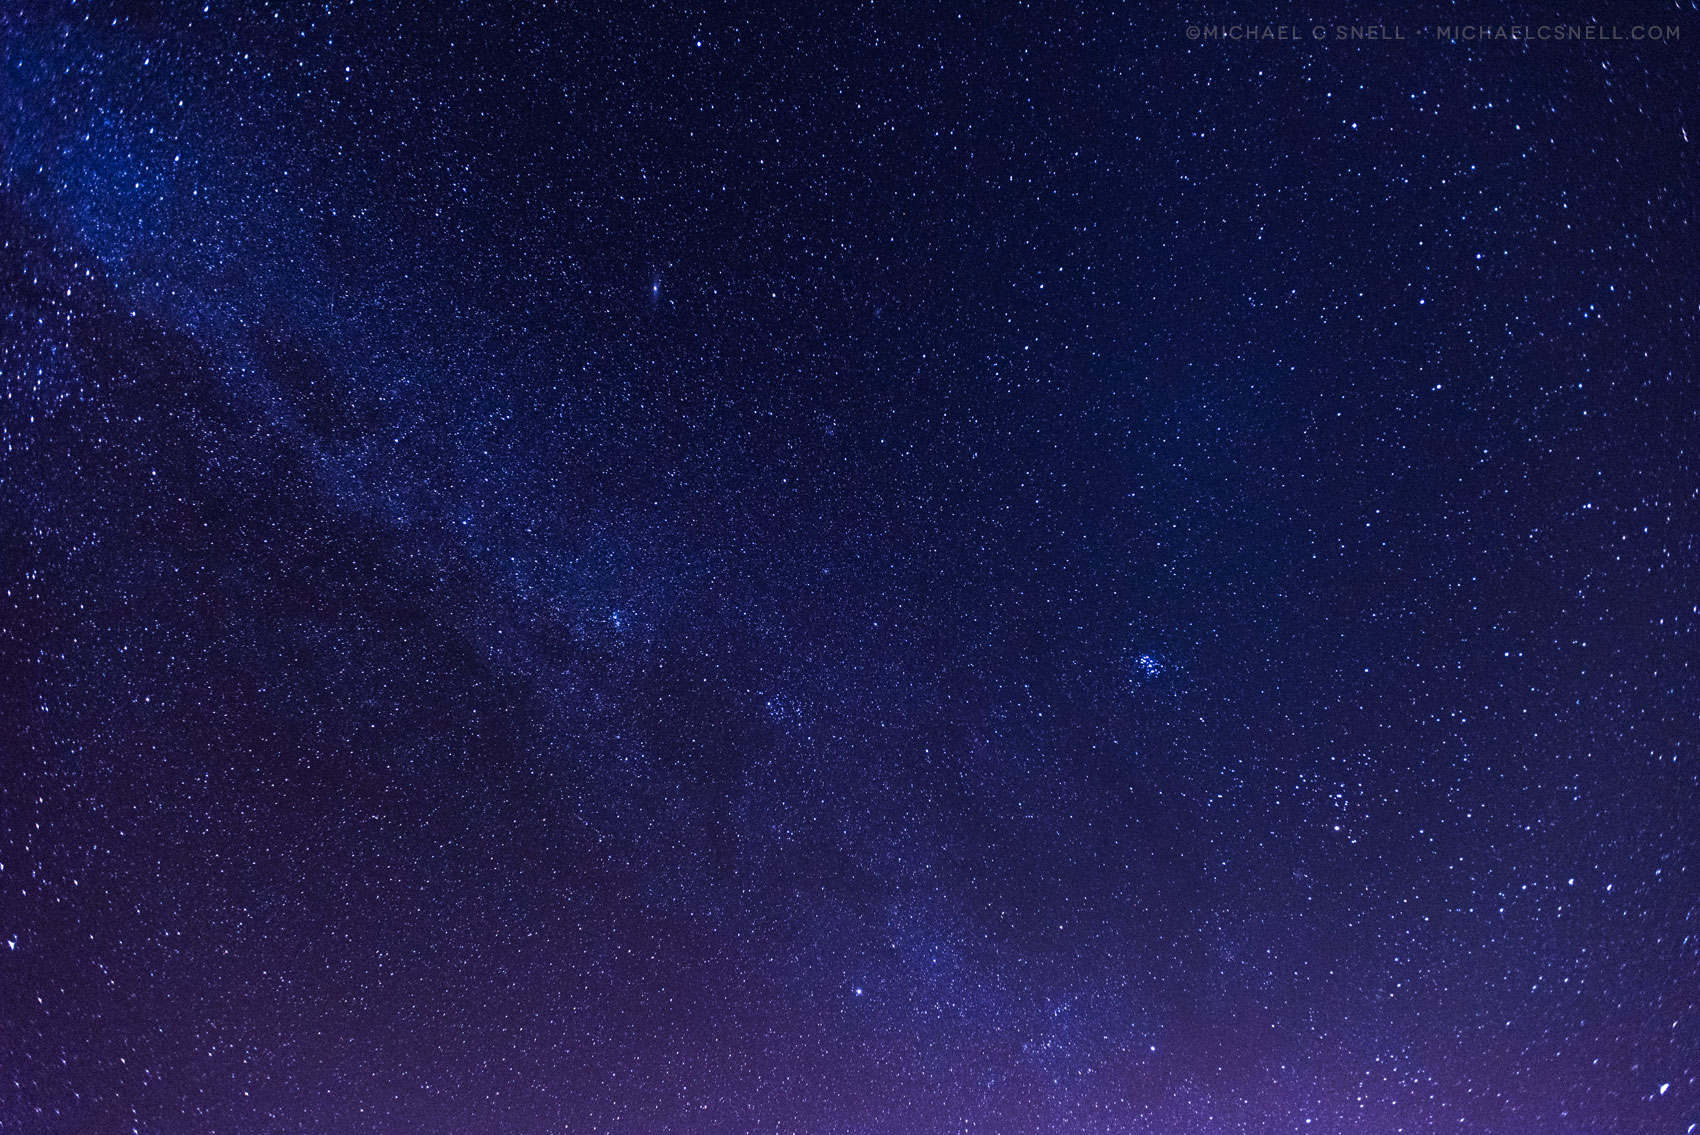
One thing that kept coming up in my Tenerife research was the quality of the night skies there. Low light pollution, elevation, and clean dry air all contribute to fantastic stargazing. It was clear that I was going to need to do some night photography.
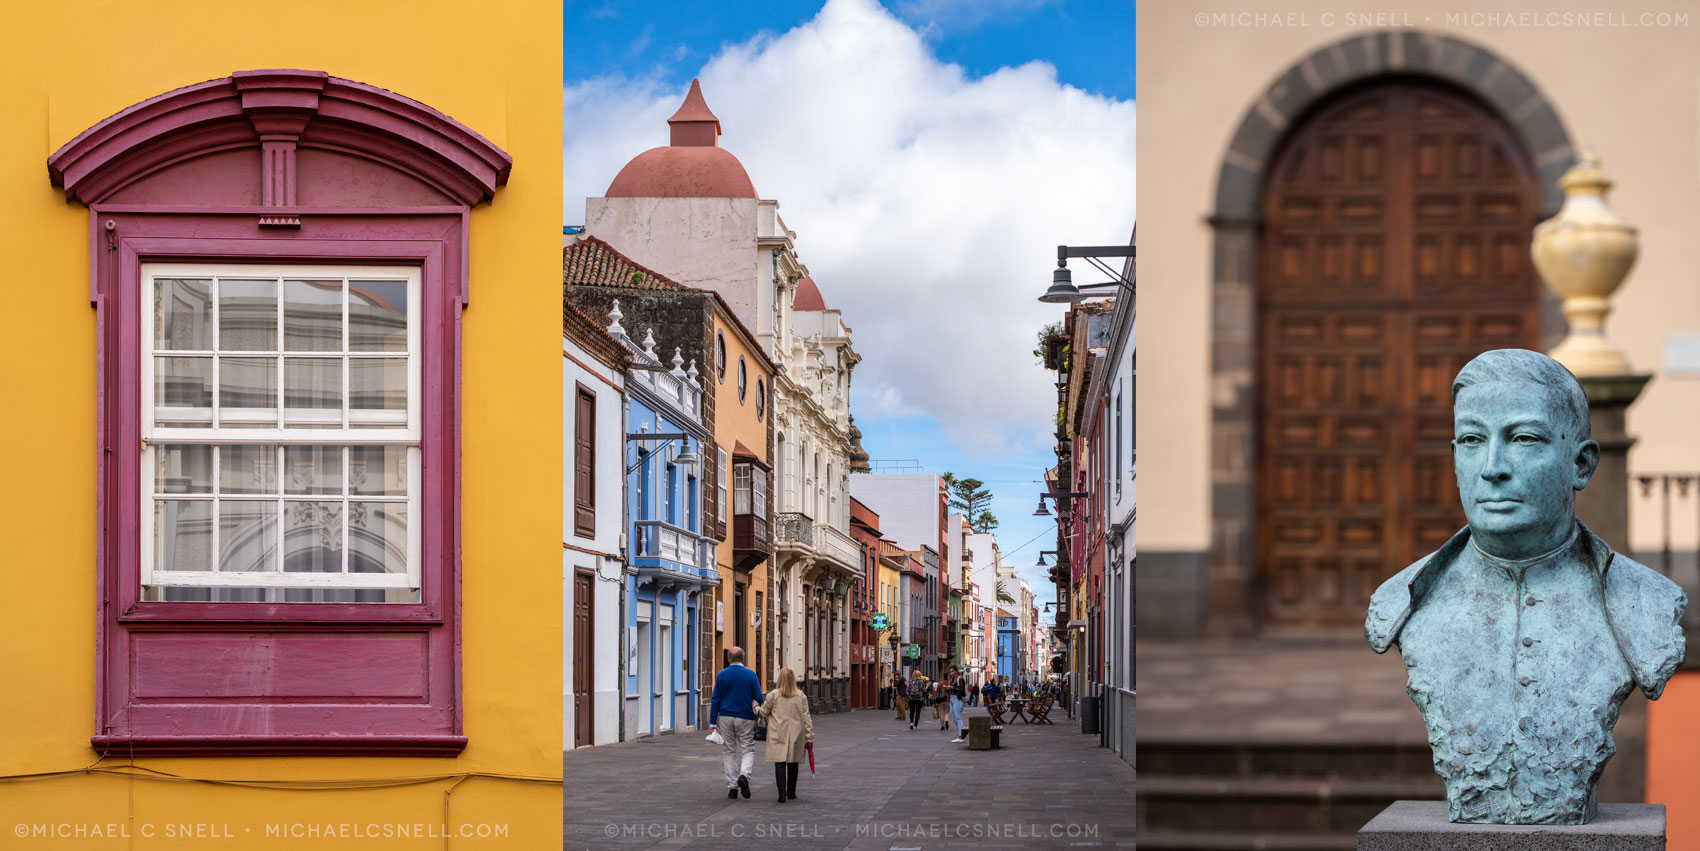
Upon arrival on Tenerife, I settled into the city of La Laguna and started getting my bearings.
I overnighted in Madrid on the way to the Canaries, which lie off the coast from Morocco in the Atlantic Ocean. Upon arrival on Tenerife, I checked into my hotel in La Laguna and spent the rest of the day photographing the charming architecture and getting myself familiarized with the culture of the Canary Islands.
A night of stargazing was on the itinerary for my second evening on Tenerife. After a morning of touring the wet northern end of the island and seeing some of the city of Santa Cruz, it was time to depart for Tiede National Park where a small group of us would participate in a star gazing program.
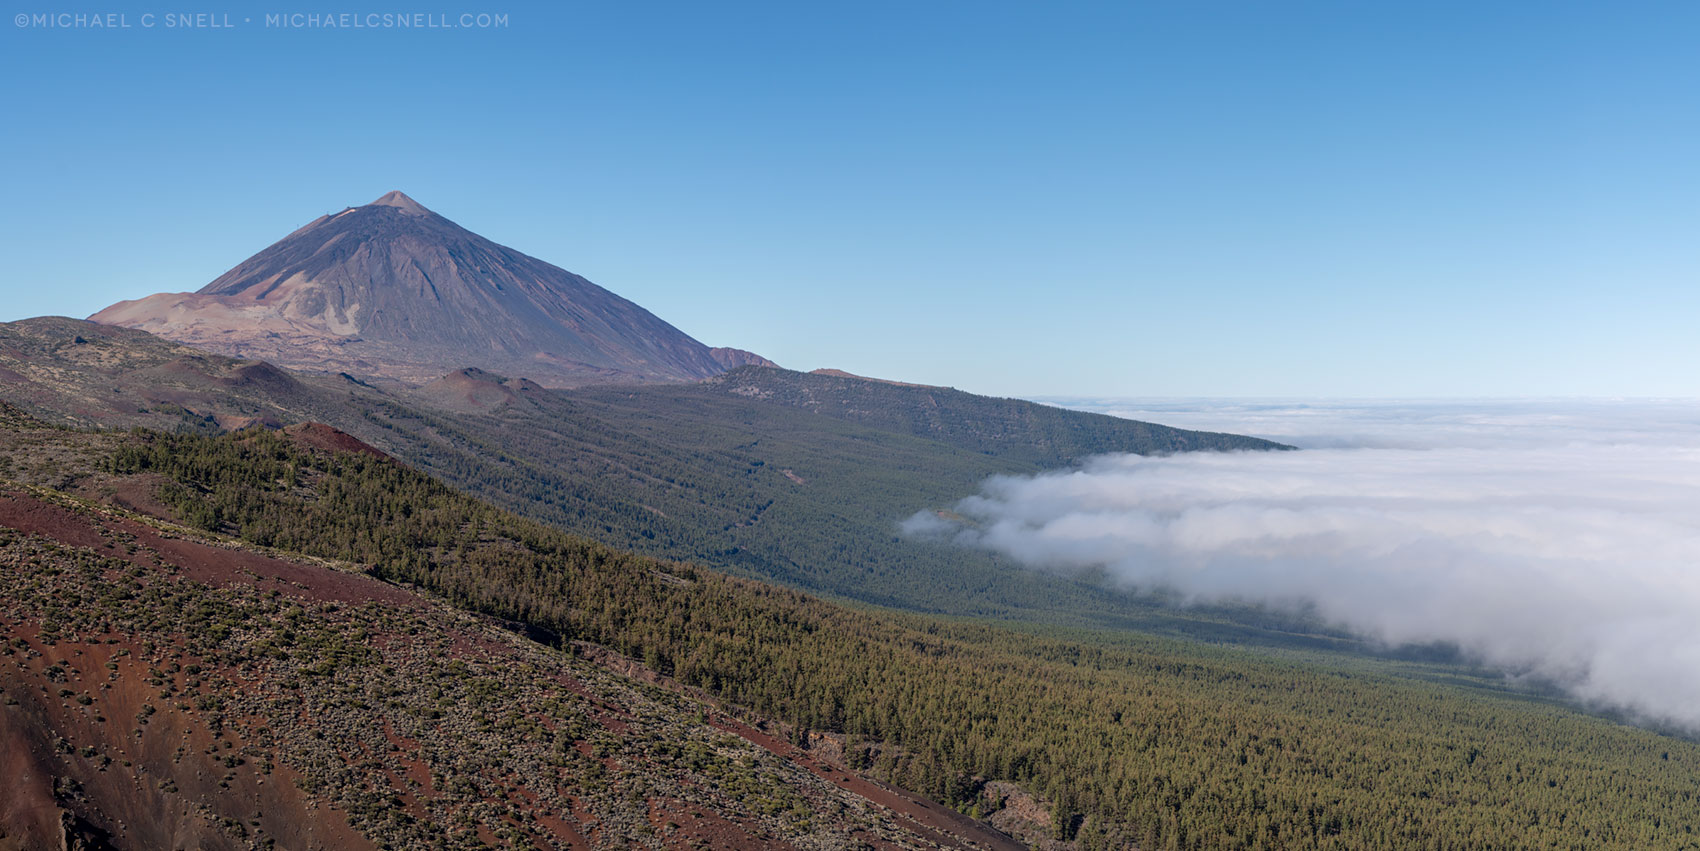
Mount Teide, the highest in Spain, provides the elevation needed for good stargazing.
It was already getting dark and we were driving constantly upward from the city. We passed through an open, misty pine forest and then entered a barren rocky area that is the caldera of an ancient volcano. Mount Tiede’s cone still rose high above.
In my Googling, I had seen these rocky formations used as foreground in other photographers’ night shots and had been wanting something similar for my own shot. But then, in darkness, we turned into the area that functions as parking for the cable car that takes people up Mount Tiede. There was no doubt the stars were out as promised, but it wasn’t my ideal location for photography.
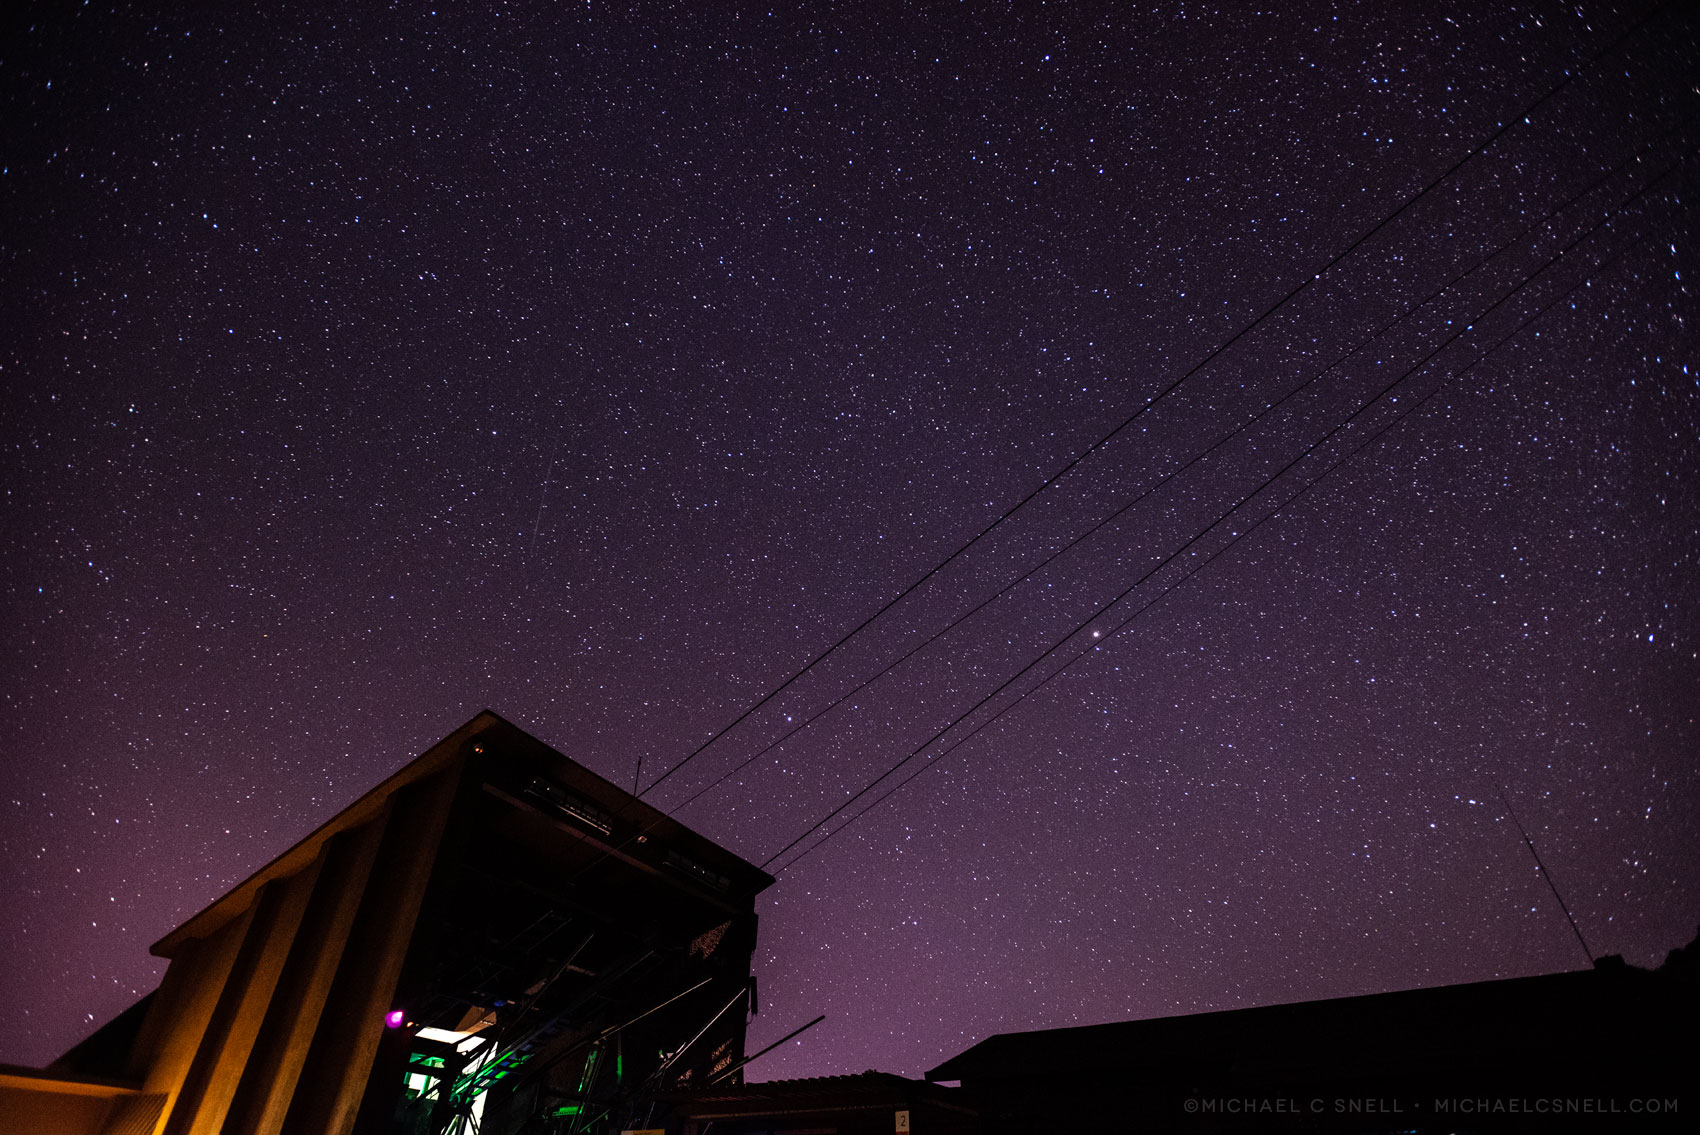
The cable car building was my best option for foreground at this location.
The program was actually great. I would recommend it to anyone on a regular visit that wanted to see the stars and get some quality background information. Our guide was an astronomer herself and had a telescope set up in the parking lot. She would point out constellations with a laser pointer, then let us glimpse nebulas and star clusters through the telescope.
I shot what I could, but I felt that I really needed some foreground that would show that I was in the Canary Islands. A straight up shot of the stars with no reference could have been shot anywhere. For travel photography, I needed something with a little more “place.”
The next day, we toured a rocky area just below where we had been stargazing the night before. The formations were just across the road from a remote Parador, one of a chain of State-operated hotels. I knew the area from my research and knew that it was the ideal foreground for astrophotography.
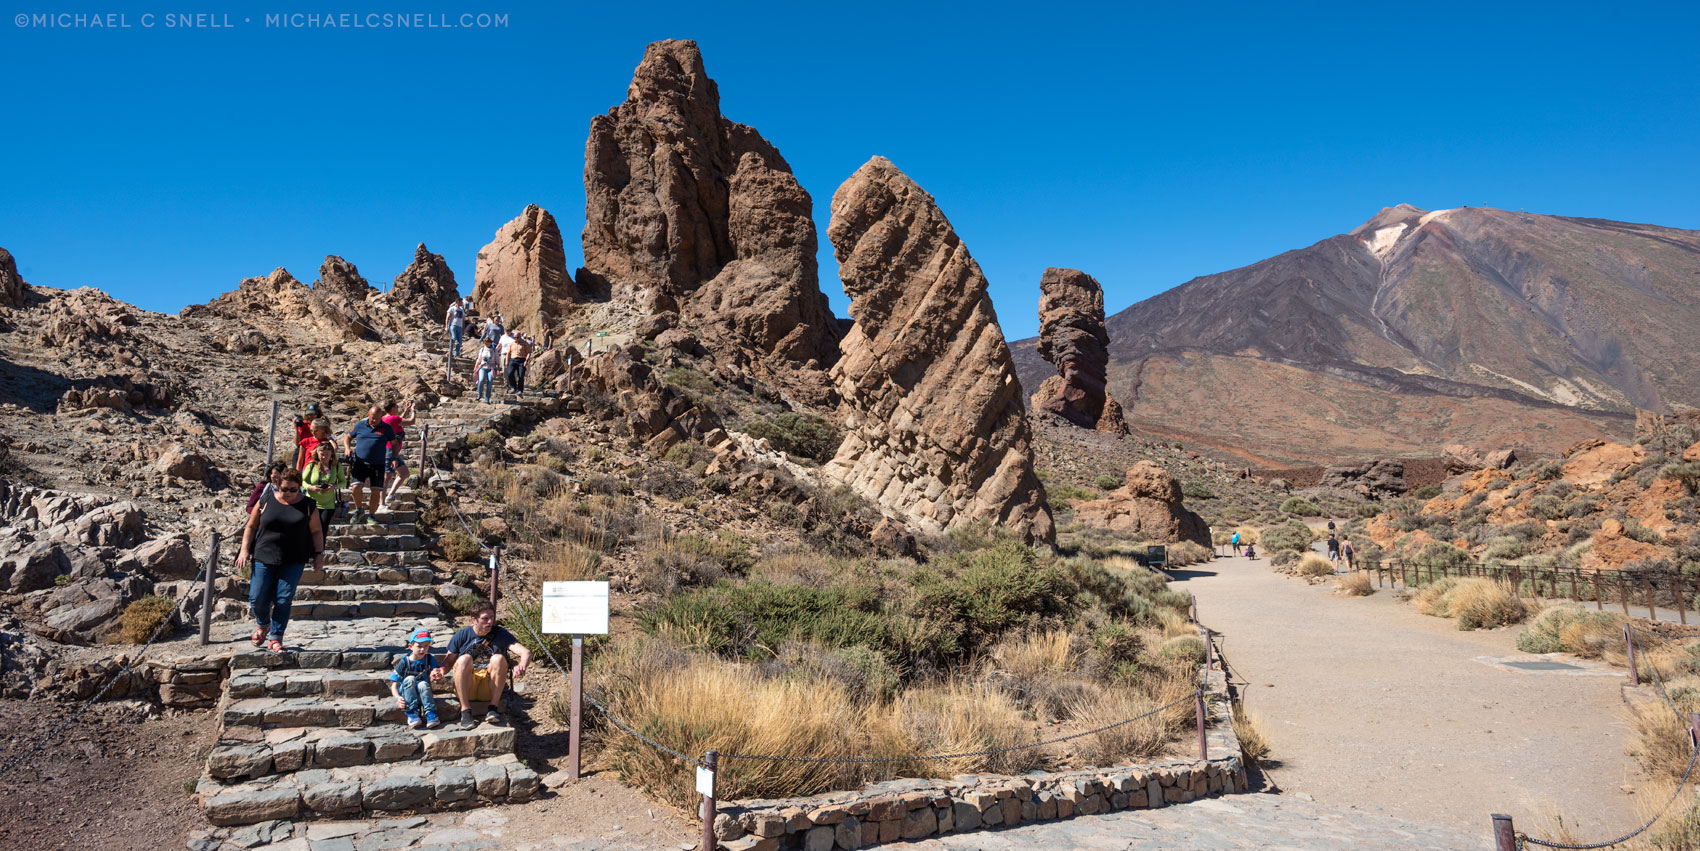
A quick shot I took to document the area I wanted to return to for another attempt at a star shot.
My travel companions from the Tourist Office of Spain were great. They saw the potential that I could see for the location and they began to make plans for a return visit the following night.
After dinner in a charming hotel in Garachico, I was picked up in a flashy red, rented, Citroen Cactus, and was on my way back up the mountain in darkness.
The second time was a charm and a few minutes after arriving, I had the shot that I wanted. The image below is the sixth frame from the night (it took me a couple just to get the framing right in the near total darkness). It remains my favorite due to the subtle light that was cast on the foreground rocks by other photographers who were packing up and moving on. I think their headlamps resulted in this wash of light — it didn’t appear in any subsequent shots and I couldn’t replicate it with any of the lighting devices I had with me.
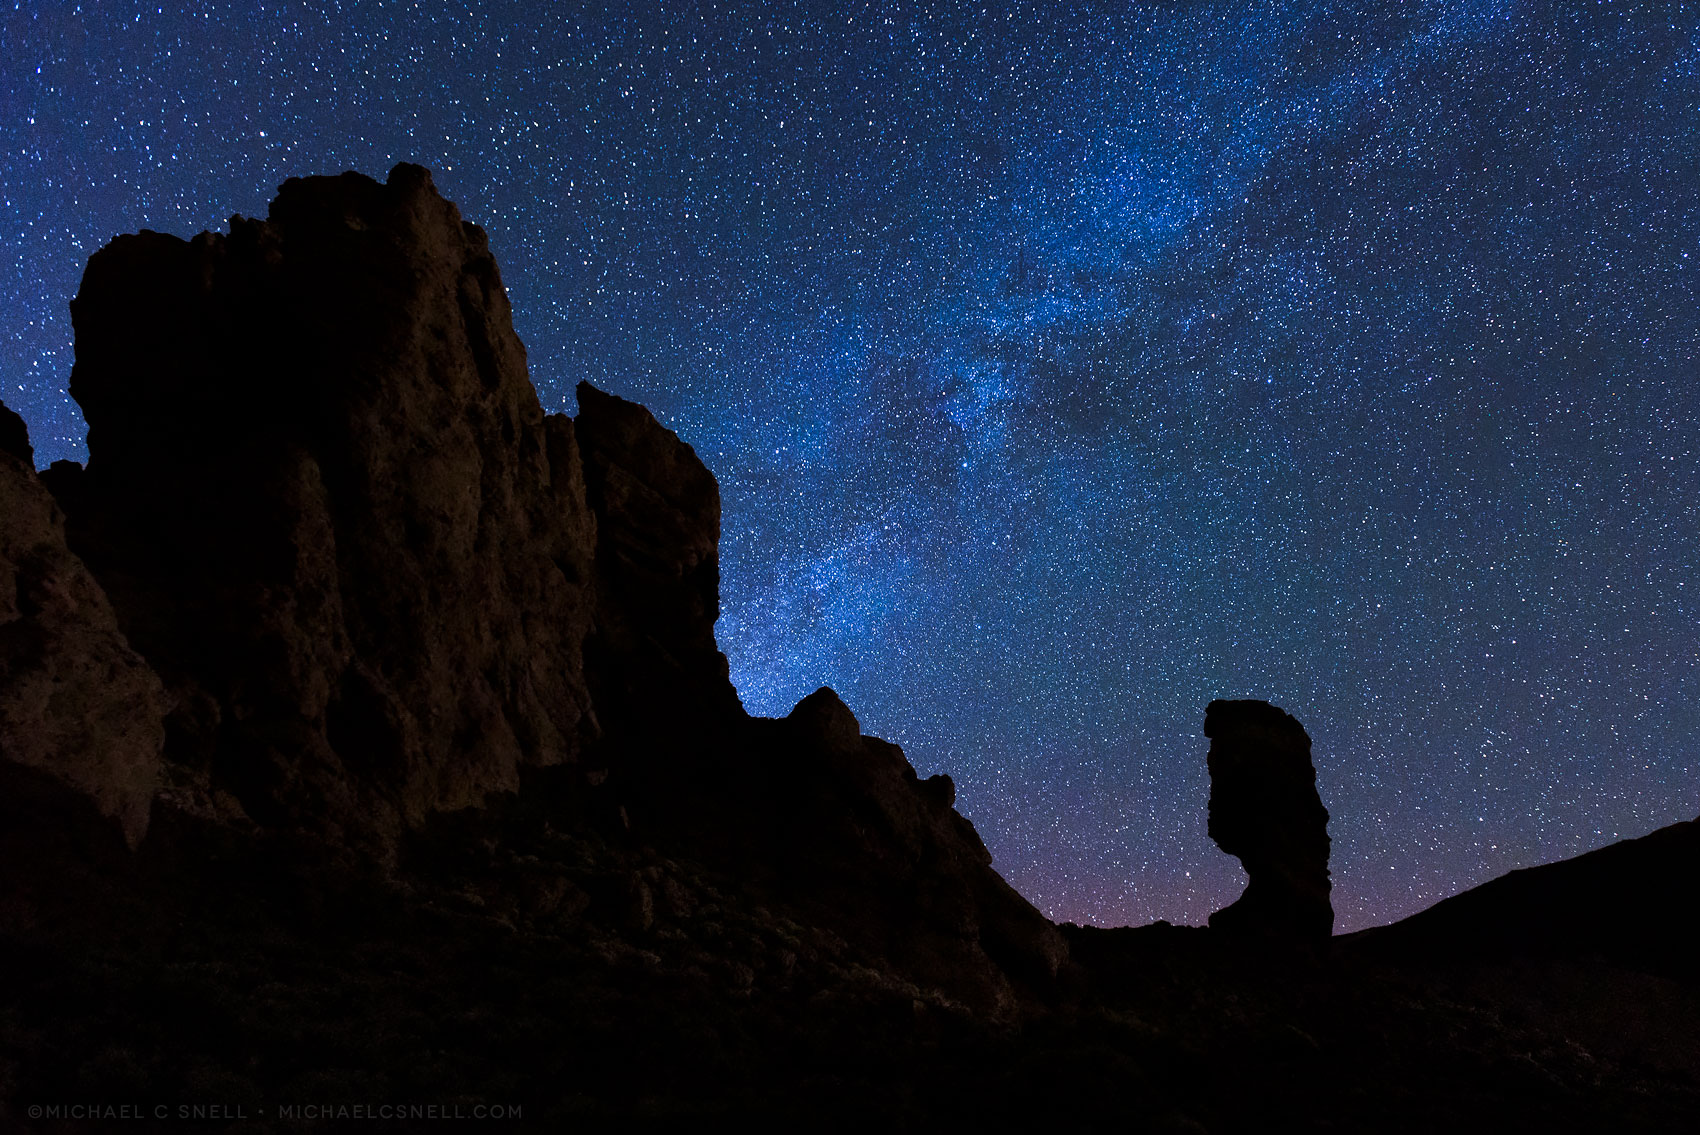
It only takes one frame. While I have other shots from that night that are composed differently — both vertical and horizontal — this is really the one I came for. I’m so thankful to everyone who went out of their way to help make this happen. I don’t normally like to go “off script” when on press trips, but it’s great when the hosts can see that some additional effort will pay off for all of us. Hopefully I’ll get them some good press with publications of this image.
A couple of notes about astrophotography
A tripod is essential for this kind of night photography. Your exposure will be too long to hand-hold the camera, but you also want to be careful that your exposure isn’t too long or you’ll get star trails (where the rotation of the earth causes your stars to turn into lines).
Use the 500 Rule to approximate your longest exposure without getting star trails:
500 Divided By the Focal Length of Your Lens =
The Longest Exposure (in Seconds) Before Stars Start to “Trail”
I was shooting at 17mm on a full-frame DSLR so my limit was about 29 seconds (500 divided by 17 = 29.4).
You need a good lens, too. Wide angle is great, because you’ll fit in more sky and stars, but inexpensive lenses may have a lot of distortion and softness at the corners.
My largest aperture (the aperture that would let the most light in) was f/2.8 but I stopped it down to f/3.5 because I know it’s not quite as sharp wide open. With that and a shutterspeed of 20 seconds determined, all that was left to do was to increase the ISO (basically the sensitivity of my camera’s sensor) until I got the exposure that I wanted. In this case, ISO 6400 did the trick without introducing a lot of digital noise.
One other thing that is helpful to do earlier in the day, when you have good light, is to pay attention to where on the lens barrel markings your infinity focus point is. You’ll be relying on manual focus in the dark when you’re shooting stars because there’s nothing in the frame with strong enough contrast for your camera to be able to grab auto-focus. Cranking the focus ring all the way to where it stops isn’t a guarantee that you’ll be focussed on infinity — some lenses will actually go a little past. During the day, focus on something at infinity and look at where your lens marking is pointed. Mine was pointing to the infinity mark (that figure-eight looking mark) but not at its center point. To be properly focussed I needed to be slightly to one side.
Armed with that information, you can set your camera to manual focus in the dark, use a flashlight to set your focus point to the spot you’ve recorded on your lens barrel, then you can enlarge your first frame on the LCD display to make sure you’re perfectly in focus.
You’ll also want to use a cable release or wireless remote to avoid jostling your camera as you trip the shutter. If you don’t have one, you can set your camera to timer so that your hand has left the shutter button before the shutter trips.
—–
More about the rest of my Tenerife adventure to come, in future posts.
