Photographing Snow.
We’ve been having a snowier winter than usual this year here in the Great Plains states. It got me thinking that it might be a good time to talk a little about photographing snowy scenes since not all travelers are seeking tropical locations.
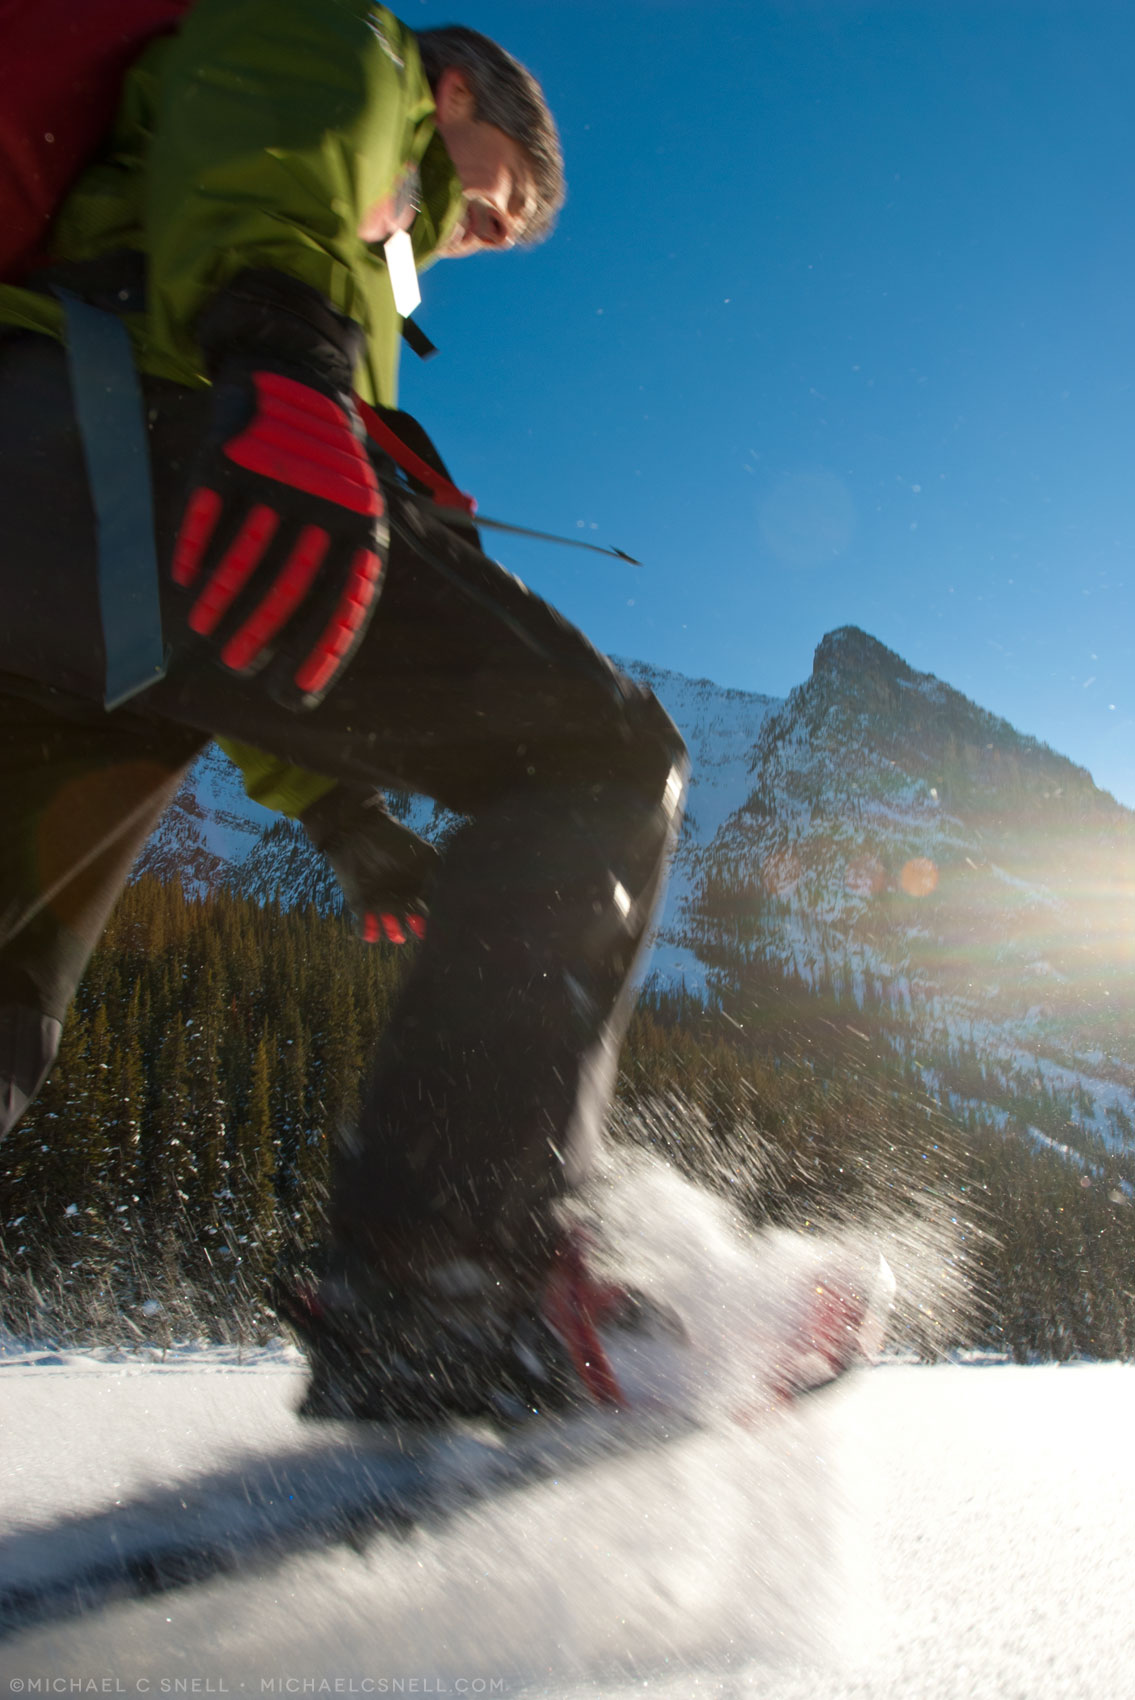
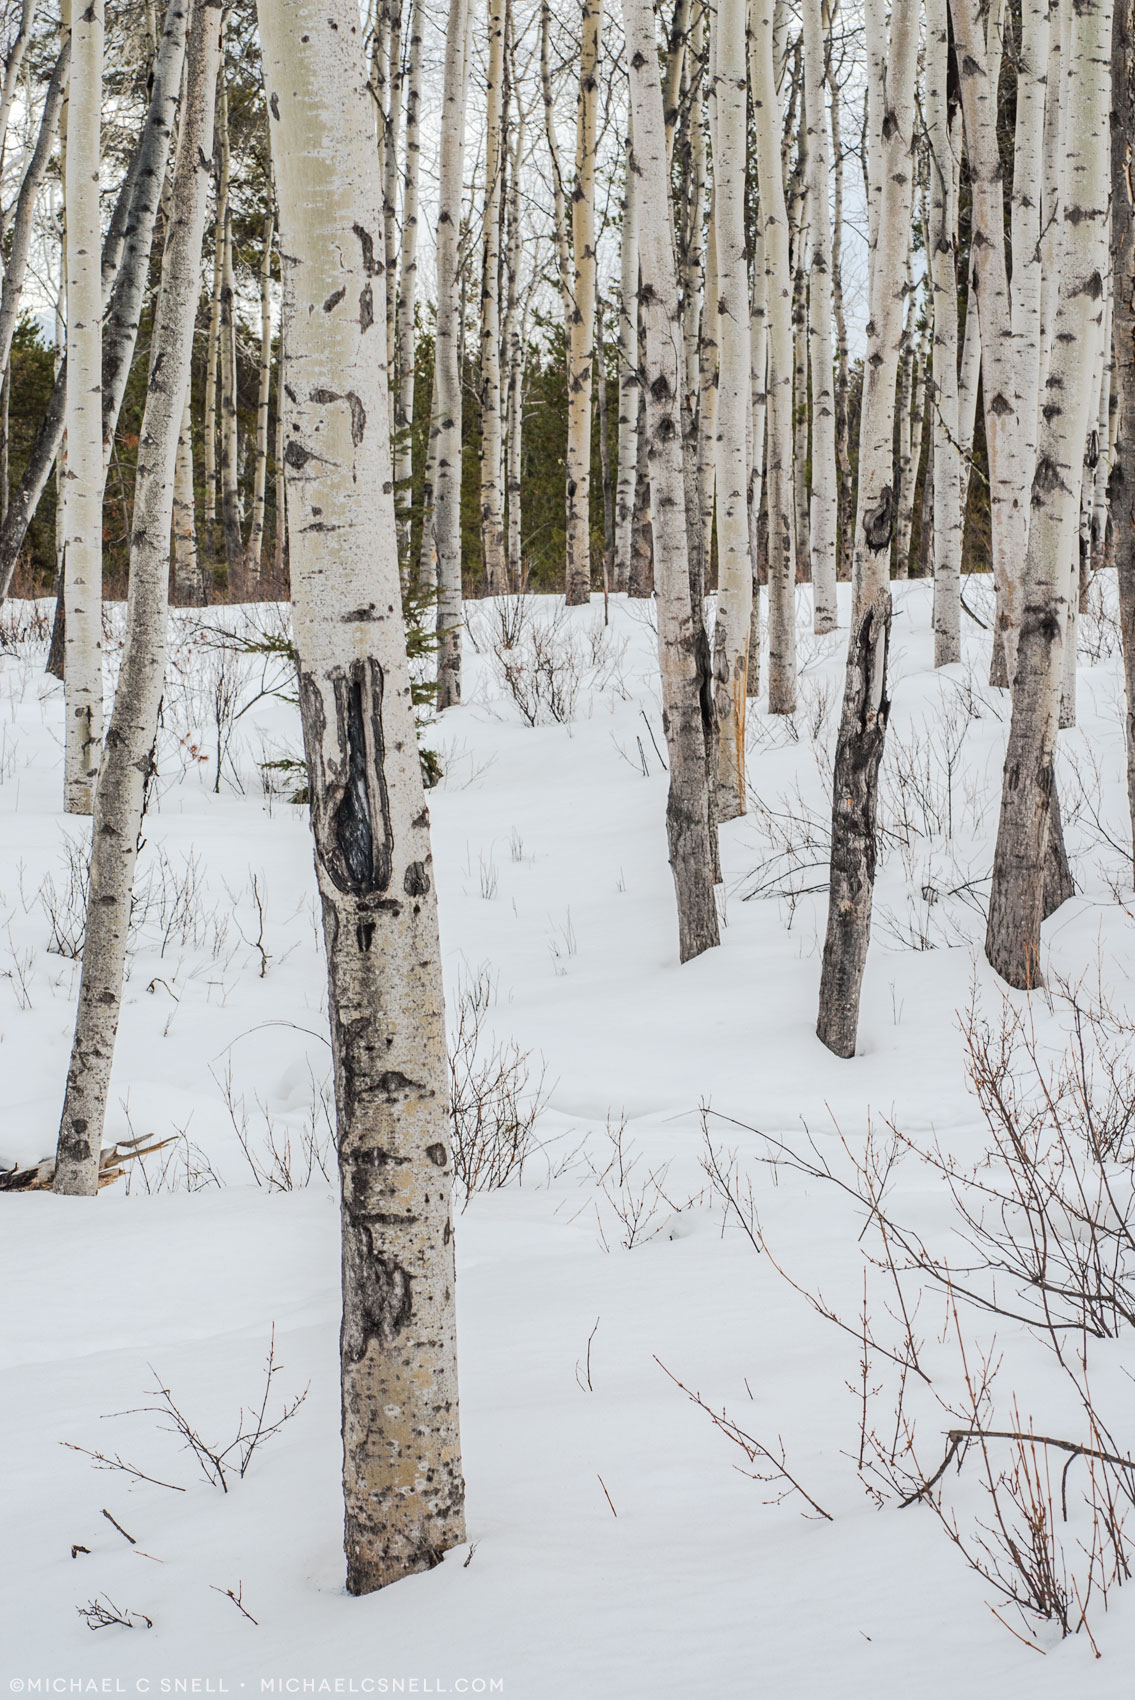
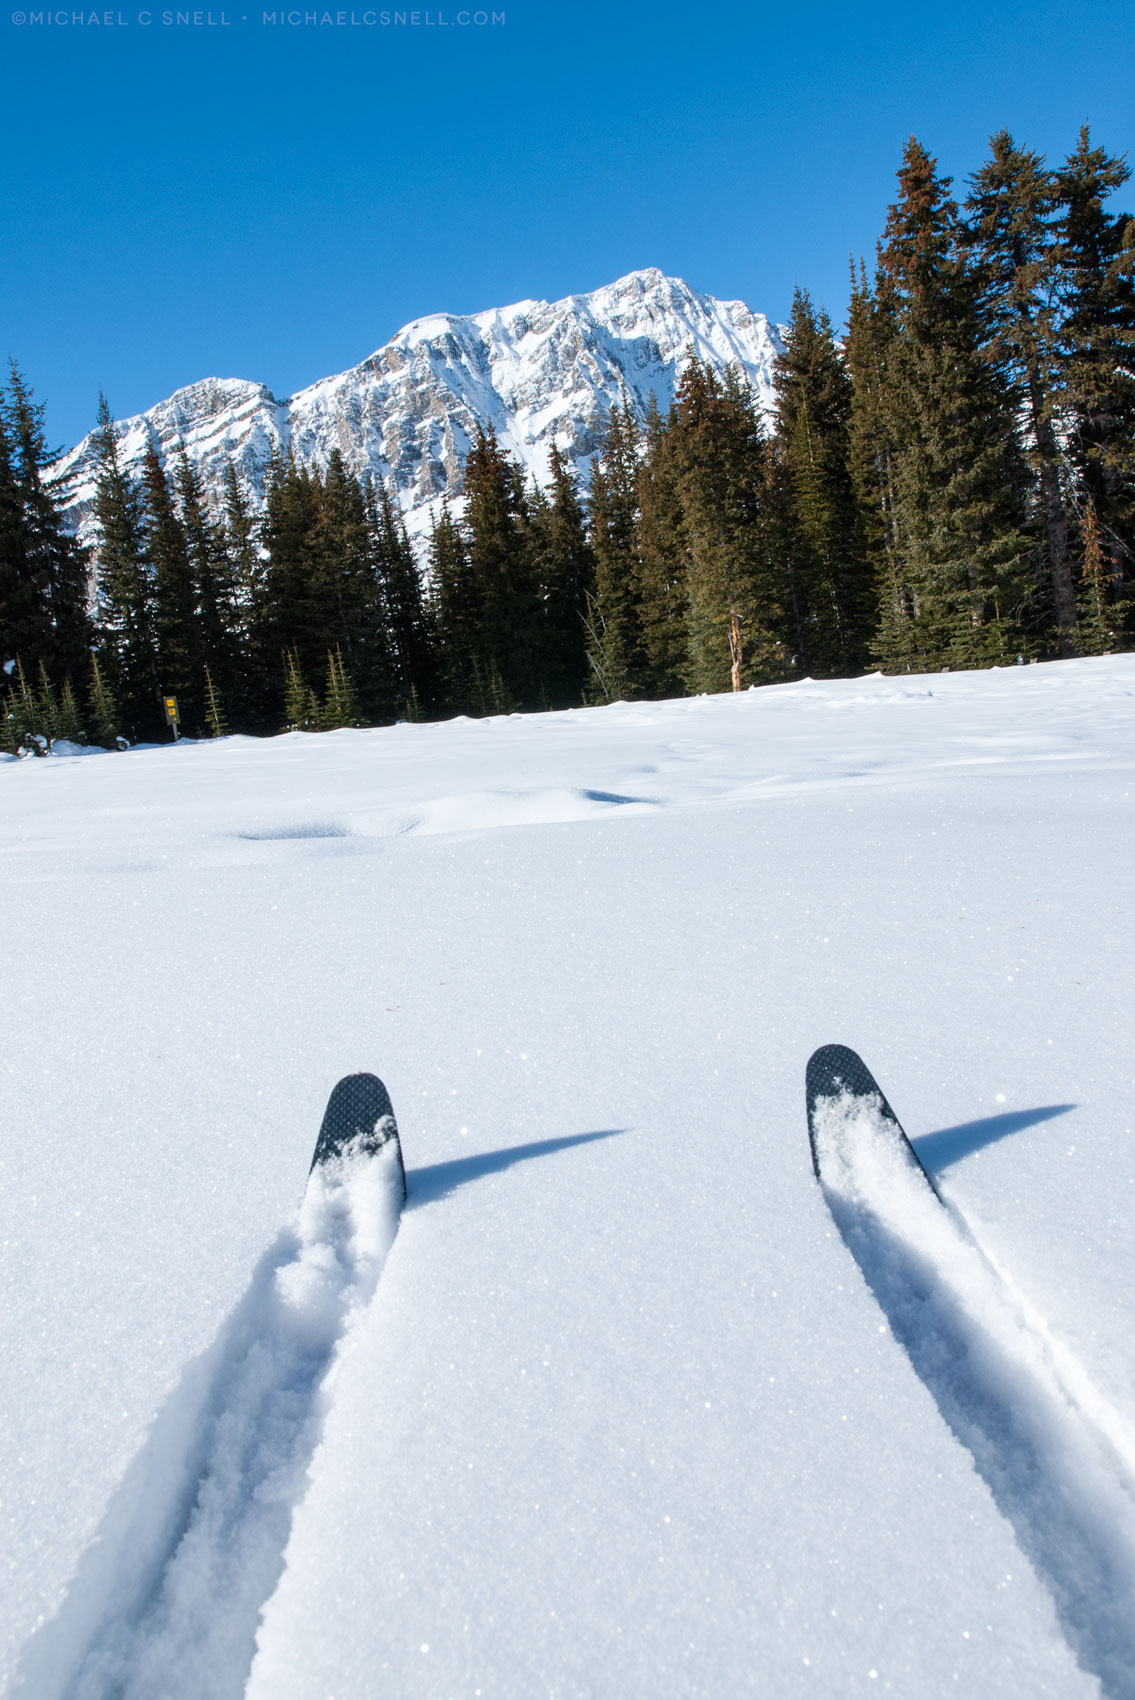
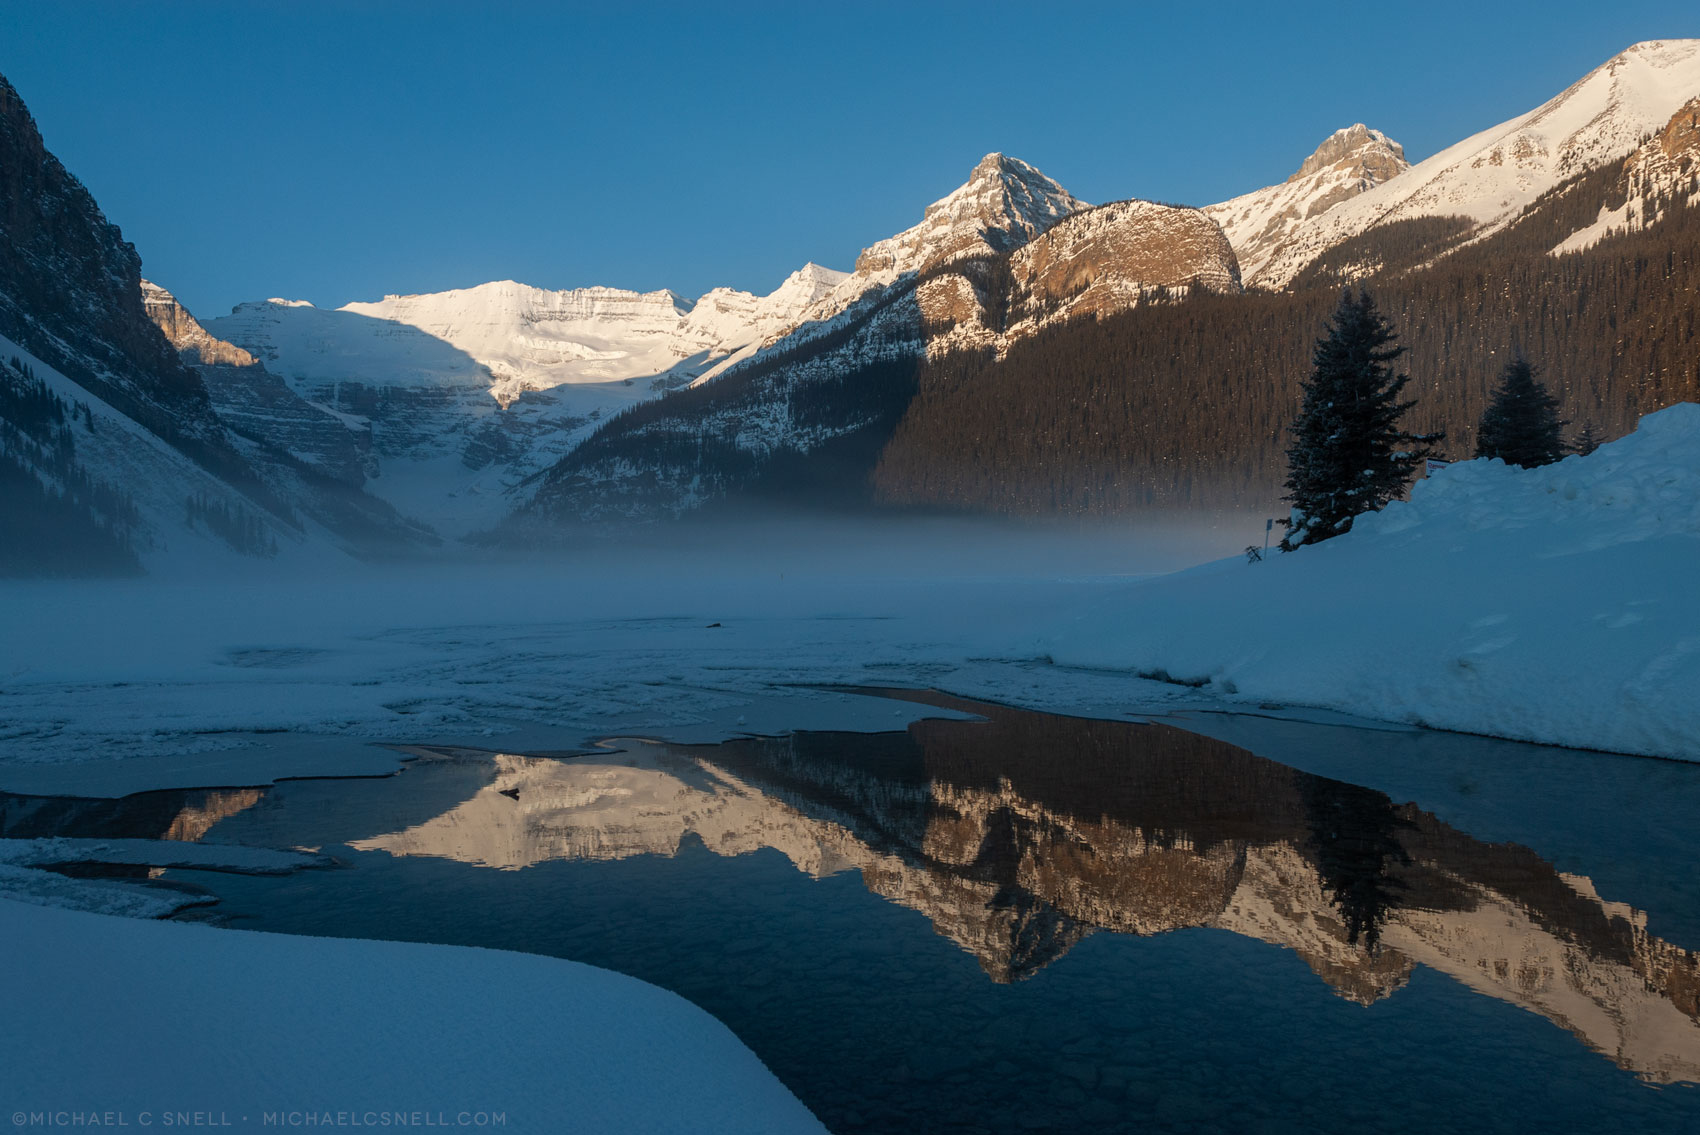
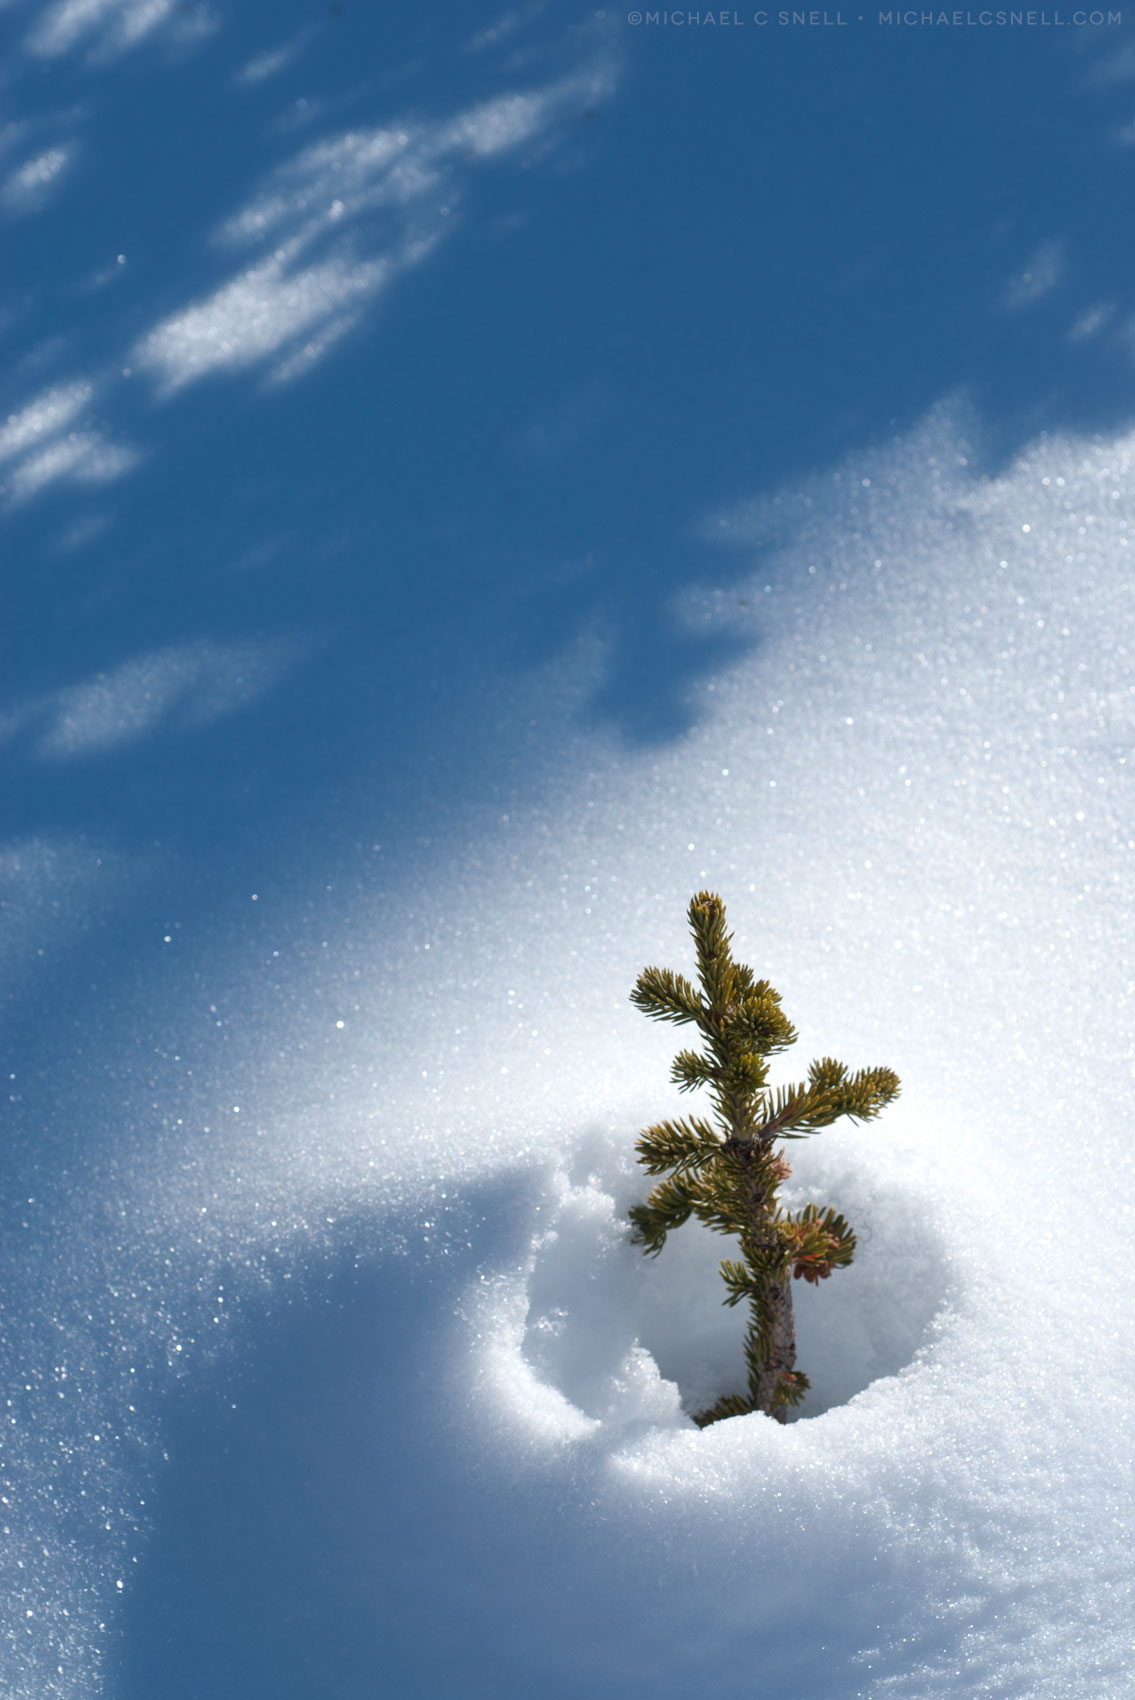
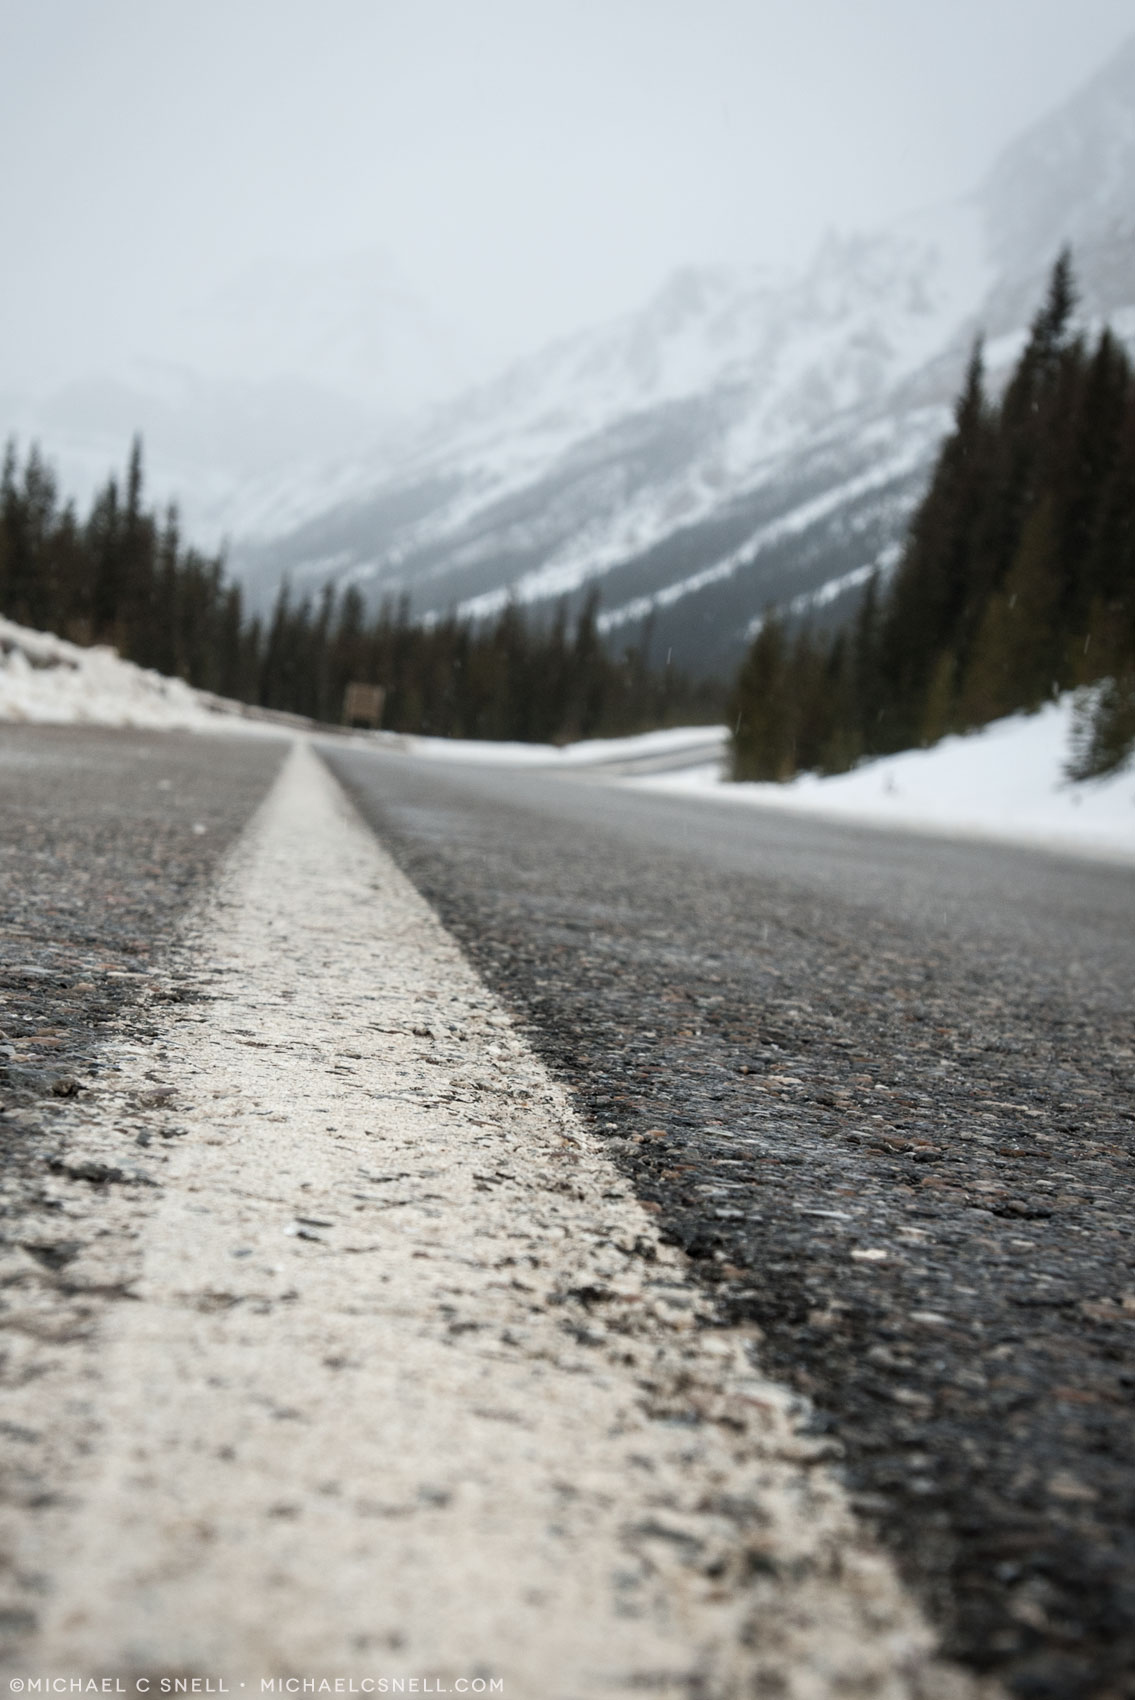
All of the photos in this post came from a trip I took to Banff and Jasper National Parks in Alberta, Canada. Both are great winter destinations for all kinds of activities or to just enjoy nature. I was there for several days and shot in a lot of different locations and conditions. I’ve selected a few that might be useful in demonstrating what’s different about shooting in snow.
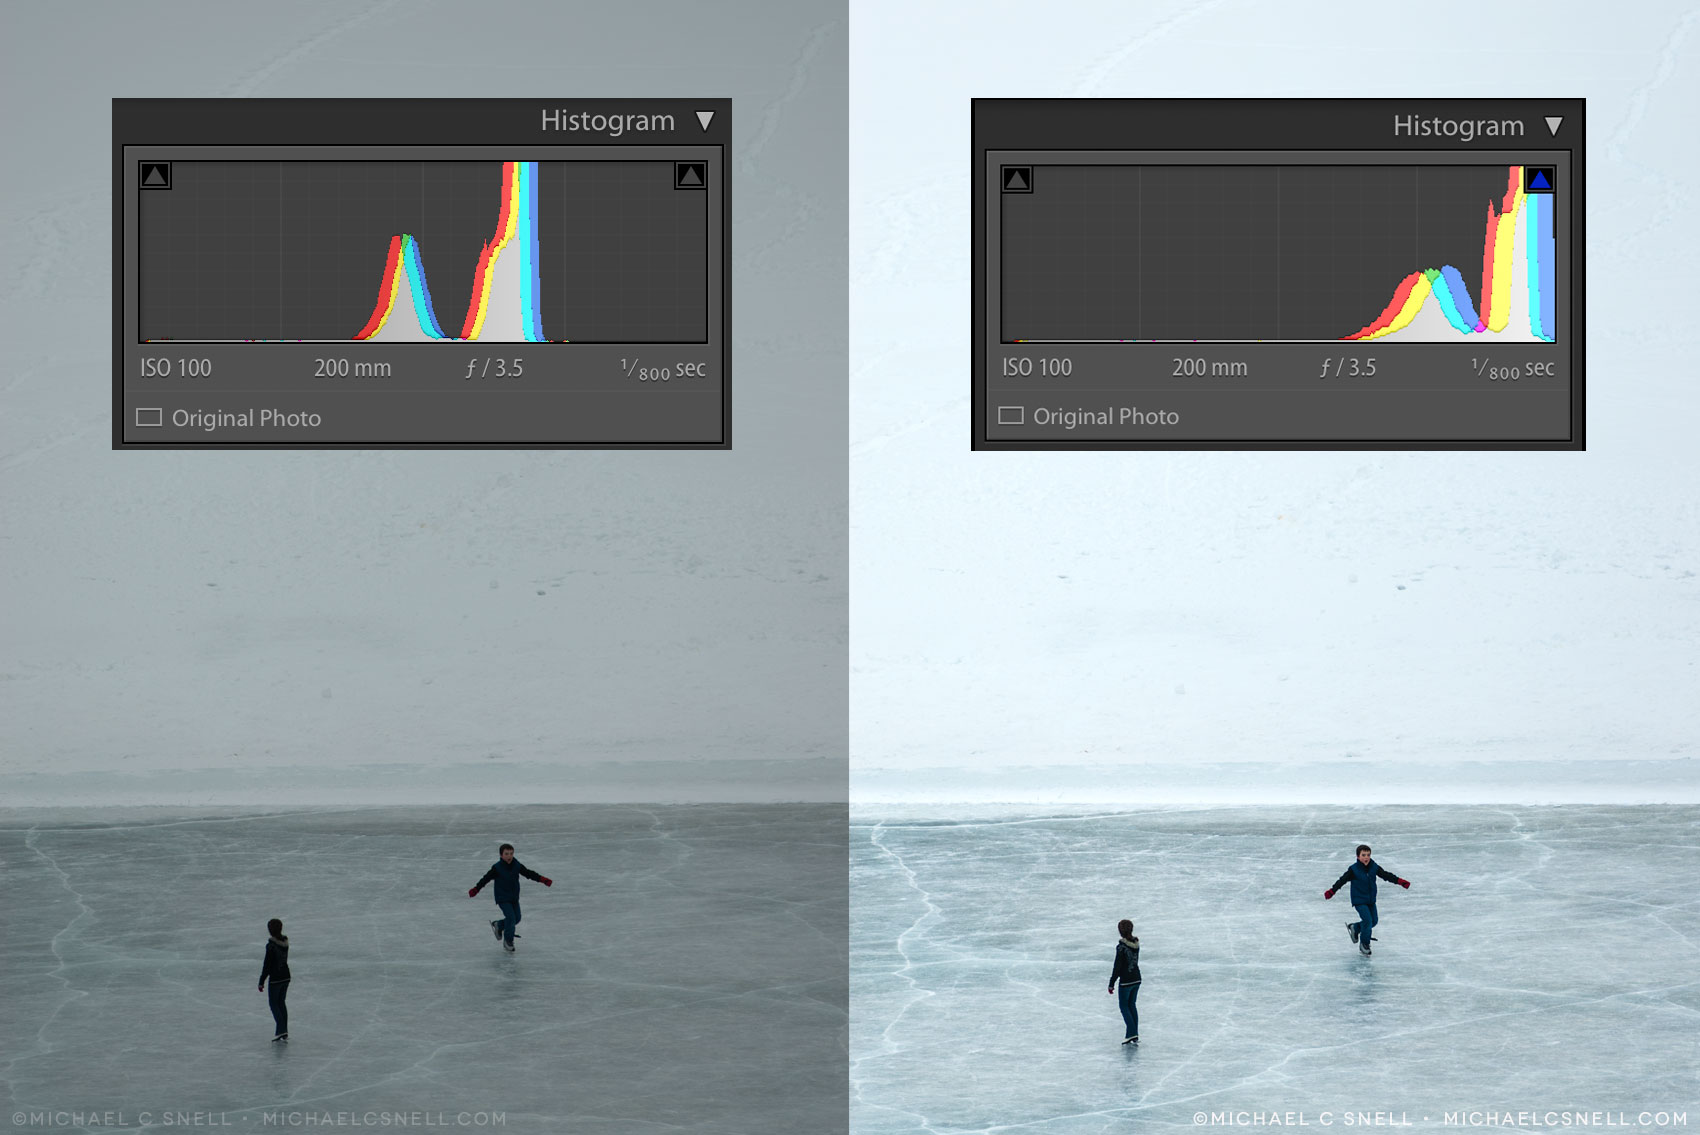
The first thing to know about photographing scenes with a lot of snow is that your camera’s metering system may not get things right. Meters generally try and average a scene out to about 18% grey. That’s roughly the same grey value as green grass or a blue sky (in fact, if you’ve ever used a spot meter, those are two things you can usually get a reading off of to determine a correct exposure). Now, what happens of your landscape is covered in white snow instead of green grass? Your camera doesn’t know that the snow should be white instead of 18% grey and you may end up with images that are underexposed and a little dark. See the image above. On the left is a metered images straight out of the camera, and on the right is one that has had some compensation applied to brighten the snow closer to white. This compensation can be a full stop or two of exposure increase.
It can be good to refer to your camera’s histogram for snow shoots, as well. That’s the graphic that is overlaid on the images above. It’s basically a graph of the tones in your image with black on the left and white on the right. In the left image, the data is all in the middle — and the image is very middle-grey. On the right, I’ve adjusted the image so that now the histogram data is all over on the right, resulting in a brighter image — but not so bright that the graph has moved totally over to 100% white. There is still detail.
If your camera has an exposure compensation setting, you can dial in a +1 or +1.5 to make your meter get closer to what you want. Or, you can use manual exposure and just make a point of over-exposing from what the indicator says is correct. Either way, you just want to be careful not to go too far and blow your highlights out completely to white. Luckily the preview screen on digital cameras lets us double-check ourselves.
White balance can also be a little tricky in snow scenes. While you may think that your shadows look too blue, and be thinking you should warm up your color balance to compensate, take a good look at your scene in front of you. Chances are, the shadows do appear blue (especially on a clear day) because the snow in the shade is reflecting the blue of the sky. A slight blue cast can help convey the coldness of the scene, as well — if that’s what you’re going for.
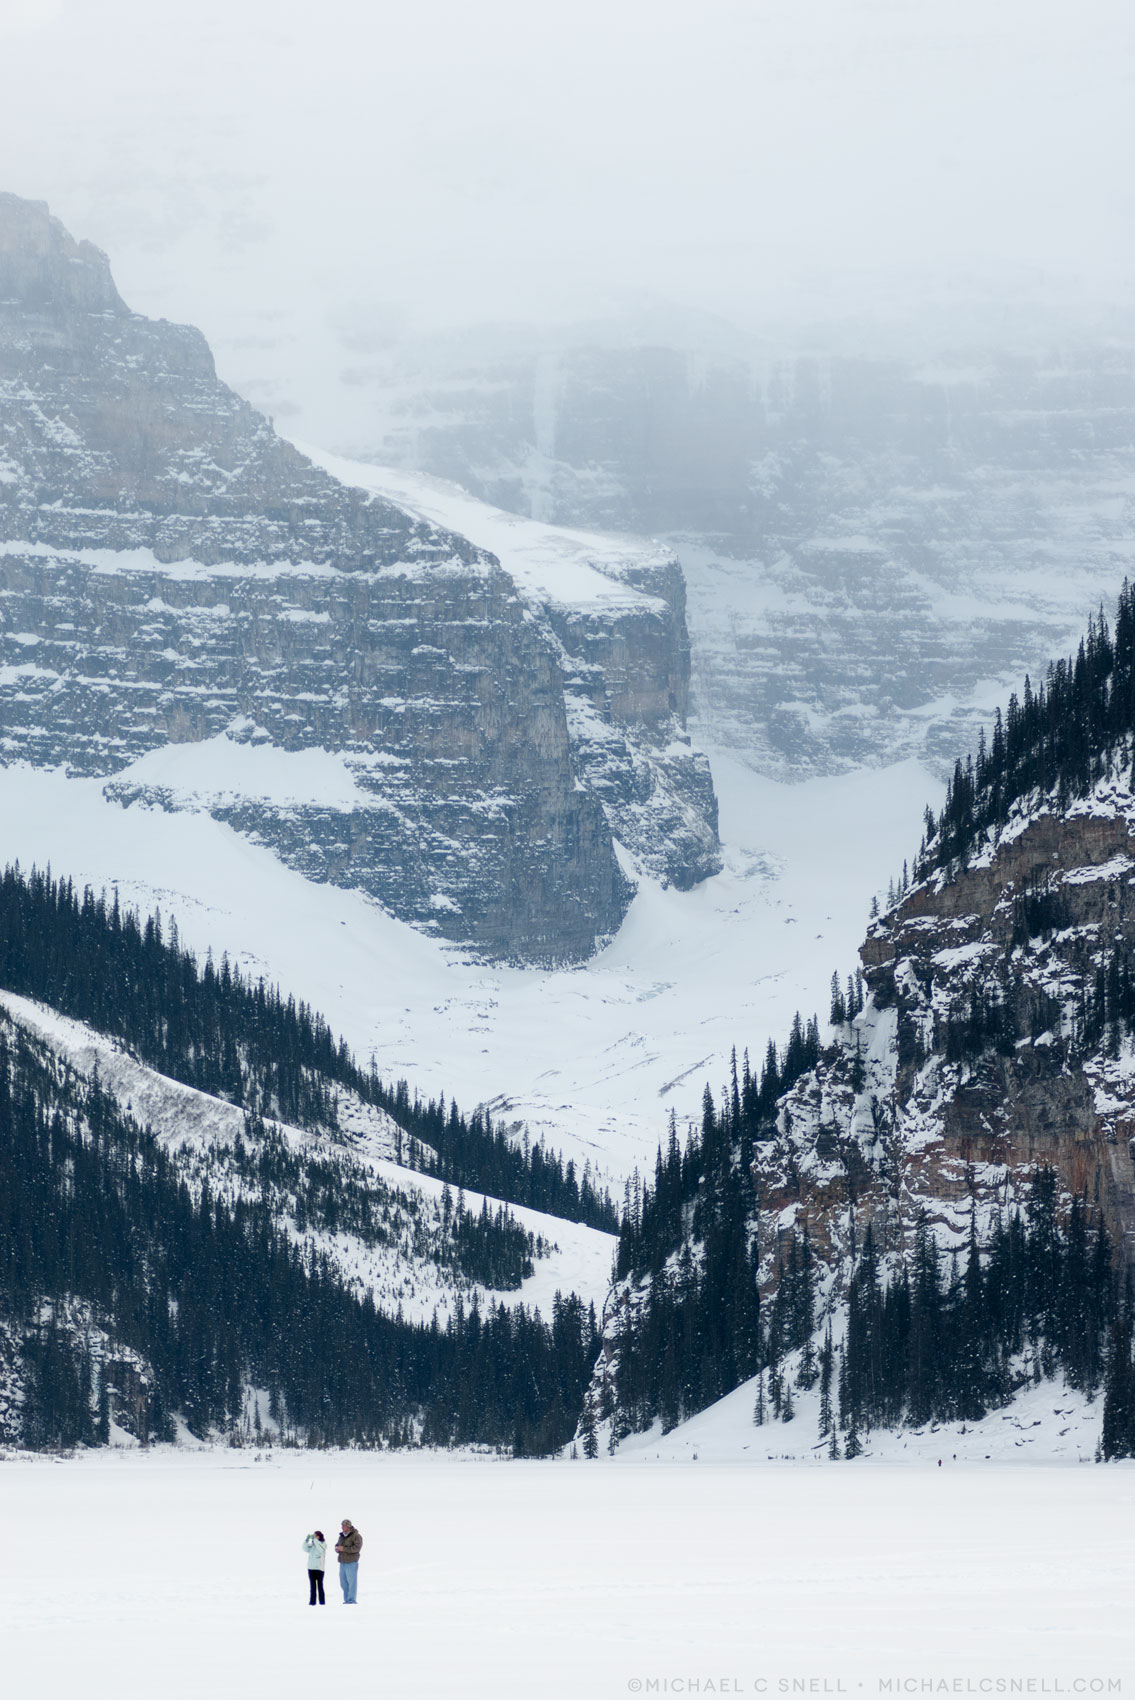
Overcast or stormy days may benefit from less blue and a more neutral palette. If you’re processing your images in Lightroom or something similar, try playing with the white balance slider a bit to see what gets you closer to the feeling you want.
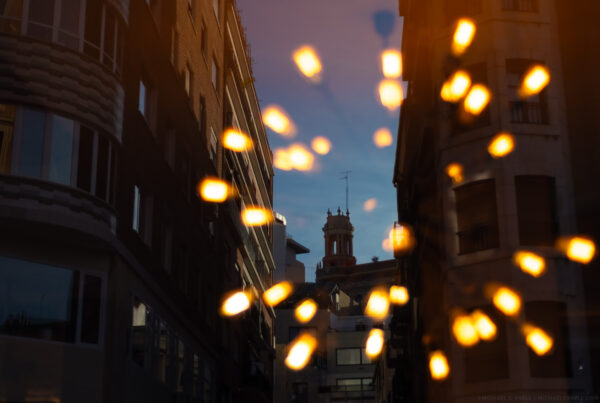
As with any kind of outdoor photography, you’ll get more dramatic light and warmer colors at sunrise or sunset when the sun is low in the sky. Snow photography isn’t all that different from other kinds of photography. It could be a little tricky when shooting transparency film because you really needed to nail the exposure, but now with digital you have some latitude. Even if you forget to set your exposure compensation, you can still rescue a raw file by pulling up the exposure a bit, or the white point. Jpegs can sometimes be saved as well, but you might not be able to push them quite as far.
Other things to consider are staying warm (and keeping your camera battery warm – they can lose charge quickly in the cold) and staying dry. If you are out shooting while it is snowing, a lens hood might help keep some of the flakes from landing on the front element of the lens. Regardless, it’s good to keep checking that front element to make sure there aren’t drops of moisture on it or they will appear as smudges on your images. Have a lens cloth handy and keeping a lens cap on between shots helps as well.
Good luck, and have fun!