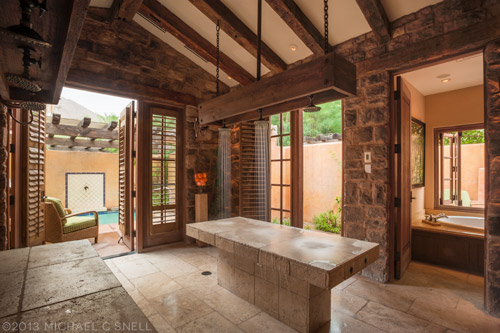
I’m not usually a big HDR guy. The first few of those over-the-top shots I saw with hyper-dramatic clouds and impossible shadow detail were interesting, but I quickly tired of the look. But that’s not to say that all HDR is inappropriate. There are times that I find it incredibly useful, as in this shot of the Alvadora Spa at the Royal Palms in Phoenix, AZ.
The room was soothingly dim but it was quite bright outside. The client wanted to show both the interior and exterior spaces in the same shot — something that might have been a challenge back in the days of shooting transparency. Then, I probably would have waited for dusk, when it would get darker outside and I could achieve a better balance between the brightness of the interior and exterior spaces. Another alternative might have been to light the interior space to bring it closer to the exterior, but I was also interested in keeping a slow shutter speed so that the water falling on the table would be nice and silky looking.
With digital and HDR capabilities now, it really wasn’t difficult to achieve this shot, even given the massive contrast in the scene. I mounted my D700 with a 17-35mm f/2.8 zoom on a tripod and added a neutral density filter to cut even more light and get a longer exposure for the water. I then shot 5 bracketed shots, each 1 stop apart so that I had images exposed at -2, -1, 0, +1, and +2 stops with the middle shot being correctly exposed. The most underexposed image held detail in the bright sky and distant mountain, but the interior was extremely dark. The most overexposed shot held detail in every corner of the dark interior but had blown out portions of the exterior. Not to worry, though. This is where the HDR comes in.
With the images imported into Lightroom, I selected all 5 and opened them using the “merge to HDR Pro in Photoshop” option under the “Photo>Edit In” menu. Photoshop now did all the heavy lifting, opening all 5 images and combining them into one high-dynamic-range image that I was able to save back out as a 32bit tiff. It doesn’t look that great in Photoshop at this point, but not to worry. When that tiff was opened in Lightroom it looked and acted like any other RAW file, except that the shadow and highlight recovery sliders had much, much more information to work with and, with a few quick adjustments, I had the image you see above. Detail in the darkest shadow as well as information in the bright sky above that far mountain. By being careful not to push the contrast and clarity too far, I think I was able to avoid that unnatural look that so many think is the only purpose of HDR.
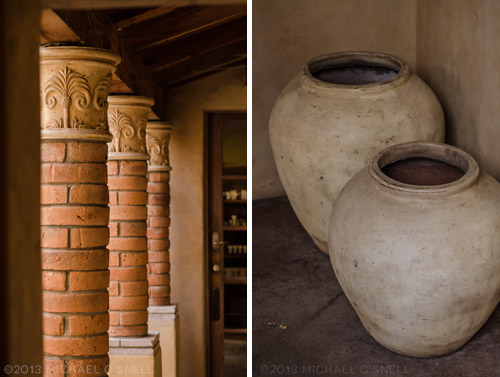
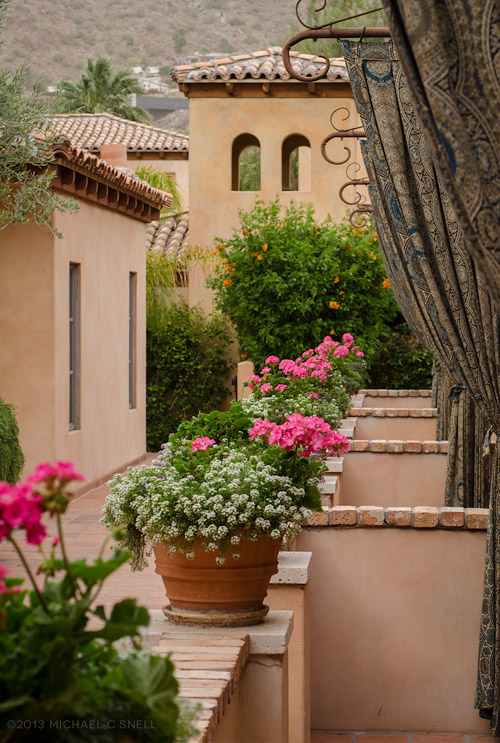
And, to rebel against the cold rainy supposedly Spring day outside my window today, I’ll leave you with a few more shots of what was a much warmer day spent at the Royal Palms in Phoenix, just a couple of weeks ago…